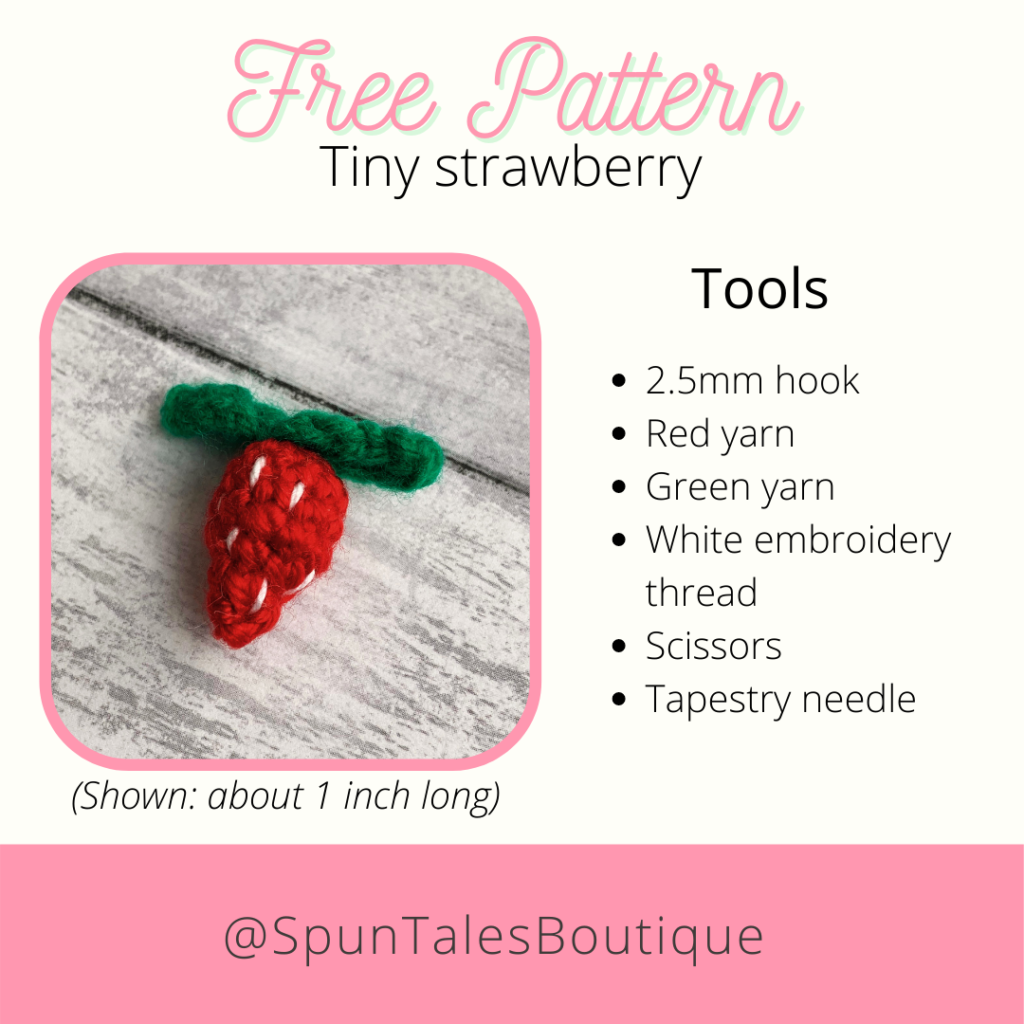
Summer fun days are around the corner and when I think of Summer, I can’t help but think of fruit, in this case strawberries. So I decided to share my crochet pattern for a tiny strawberry with you!
To crochet this strawberry you will need a pretty basic knowledge of crochet. If you know how to single crochet, slip stitch and chain, then you’re all set. You can work these up in no time and the best part is that you can use them in so many ways. For example, a keychain, amigurumi doll accessory, an amigurumi dessert (like pie or cake), cute earrings, and more!
To get started you can find the written pattern below and as a downloadable PDF. And if you’d like to bookmark on Instagram, you can find it here.
Tools and Materials for crochet strawberry:
- 2.5mm hook
- Red yarn (I used #3 light yarn)
- Green yarn (I used medium weight)
- White embroidery thread (or super fine yarn)
- Scissors
- Tapestry needle
- stitch marker (Tip: If you don’t have stitch markers you can use a different colored yarn piece to mark your stitches)
Abbreviations
- SC = single crochet
- DEC = decrease
- st = stitch
- DC = double crochet
Crochet Strawberry Pattern
R1: Make a magic ring, 10 SC into ring
R2-3: 10 SC around
R4: [SC in next 3 st, DEC], repeat brackets to end of round
R5: [SC in next 2 st, DEC], repeat brackets to end of round
R5: [SC in next st, DEC], repeat brackets to end of round
Fasten off and leave a small tail to seal, thread through and trim the excess.
Seeds
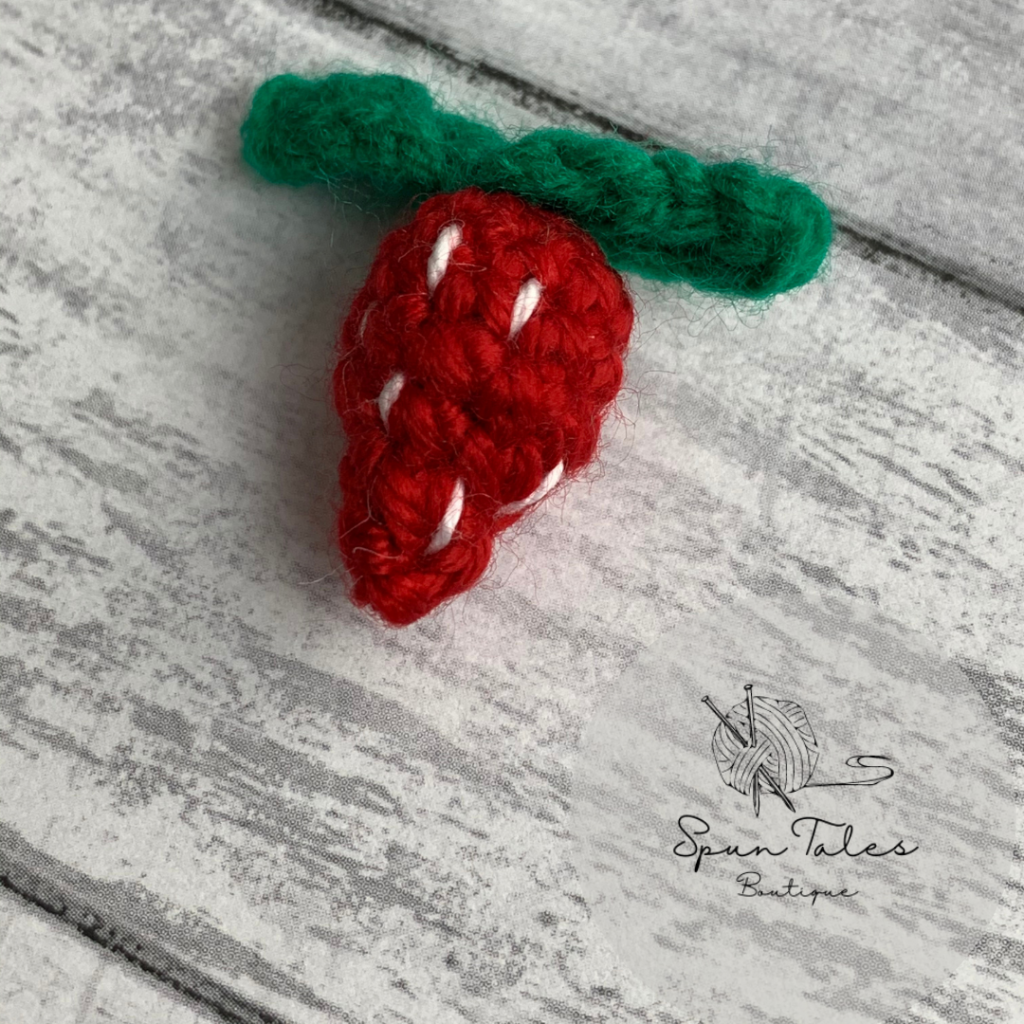
Use white embroidery thread to sew on the seeds. See picture to reference the final result.
Leaves Pattern
R1: Chain 5
R2: Slip st into first chain from hook, SC in next 2 st, DC in last st, slip st into same st
For the second leaf, repeat rows 1-2. After the final slip st, fasten off with tail for sewing and attach to the top of your strawberry!
To download the Strawberry Crochet Pattern PDF, enter your email below!


