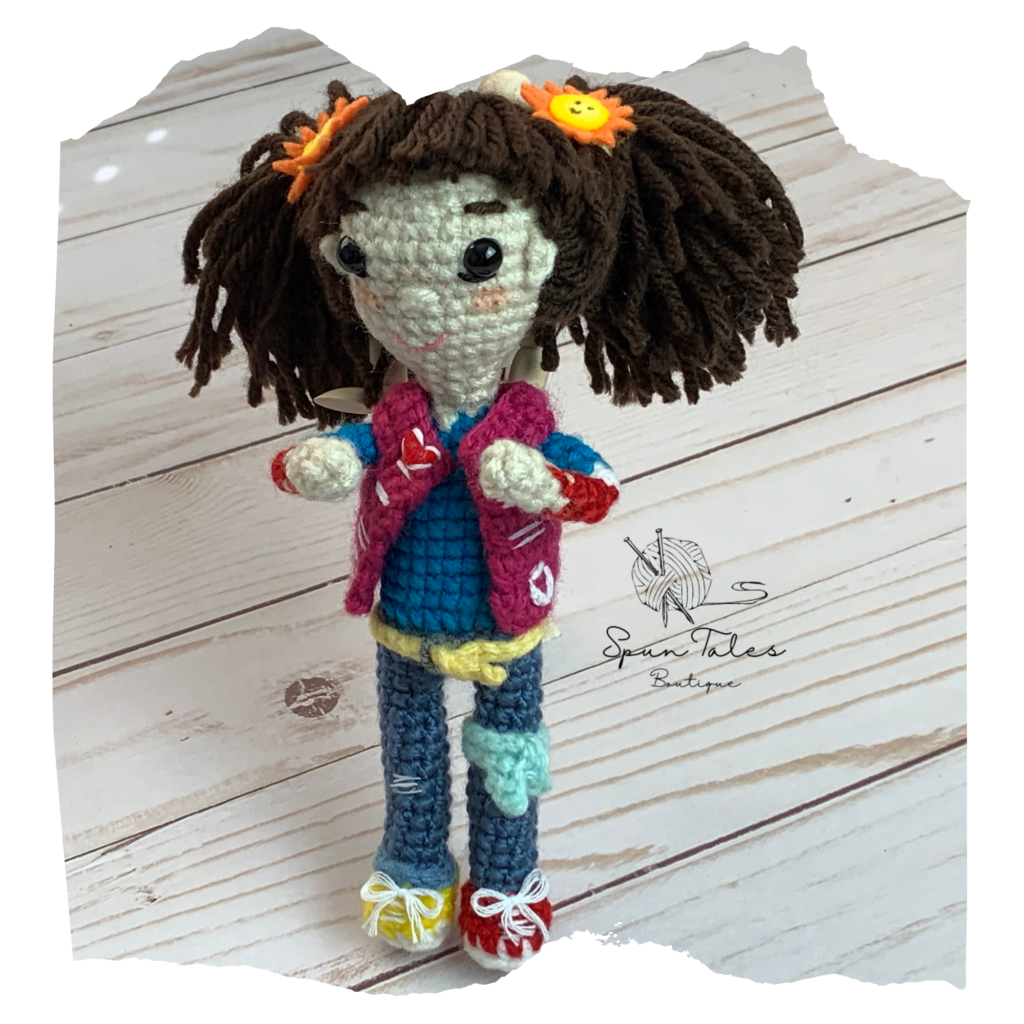
I’m so excited to share my behind-the-scenes pattern design process for my Amigurumi Punky Brewster crochet doll with you. Even more exciting, this is the first pattern that I posted for sale!
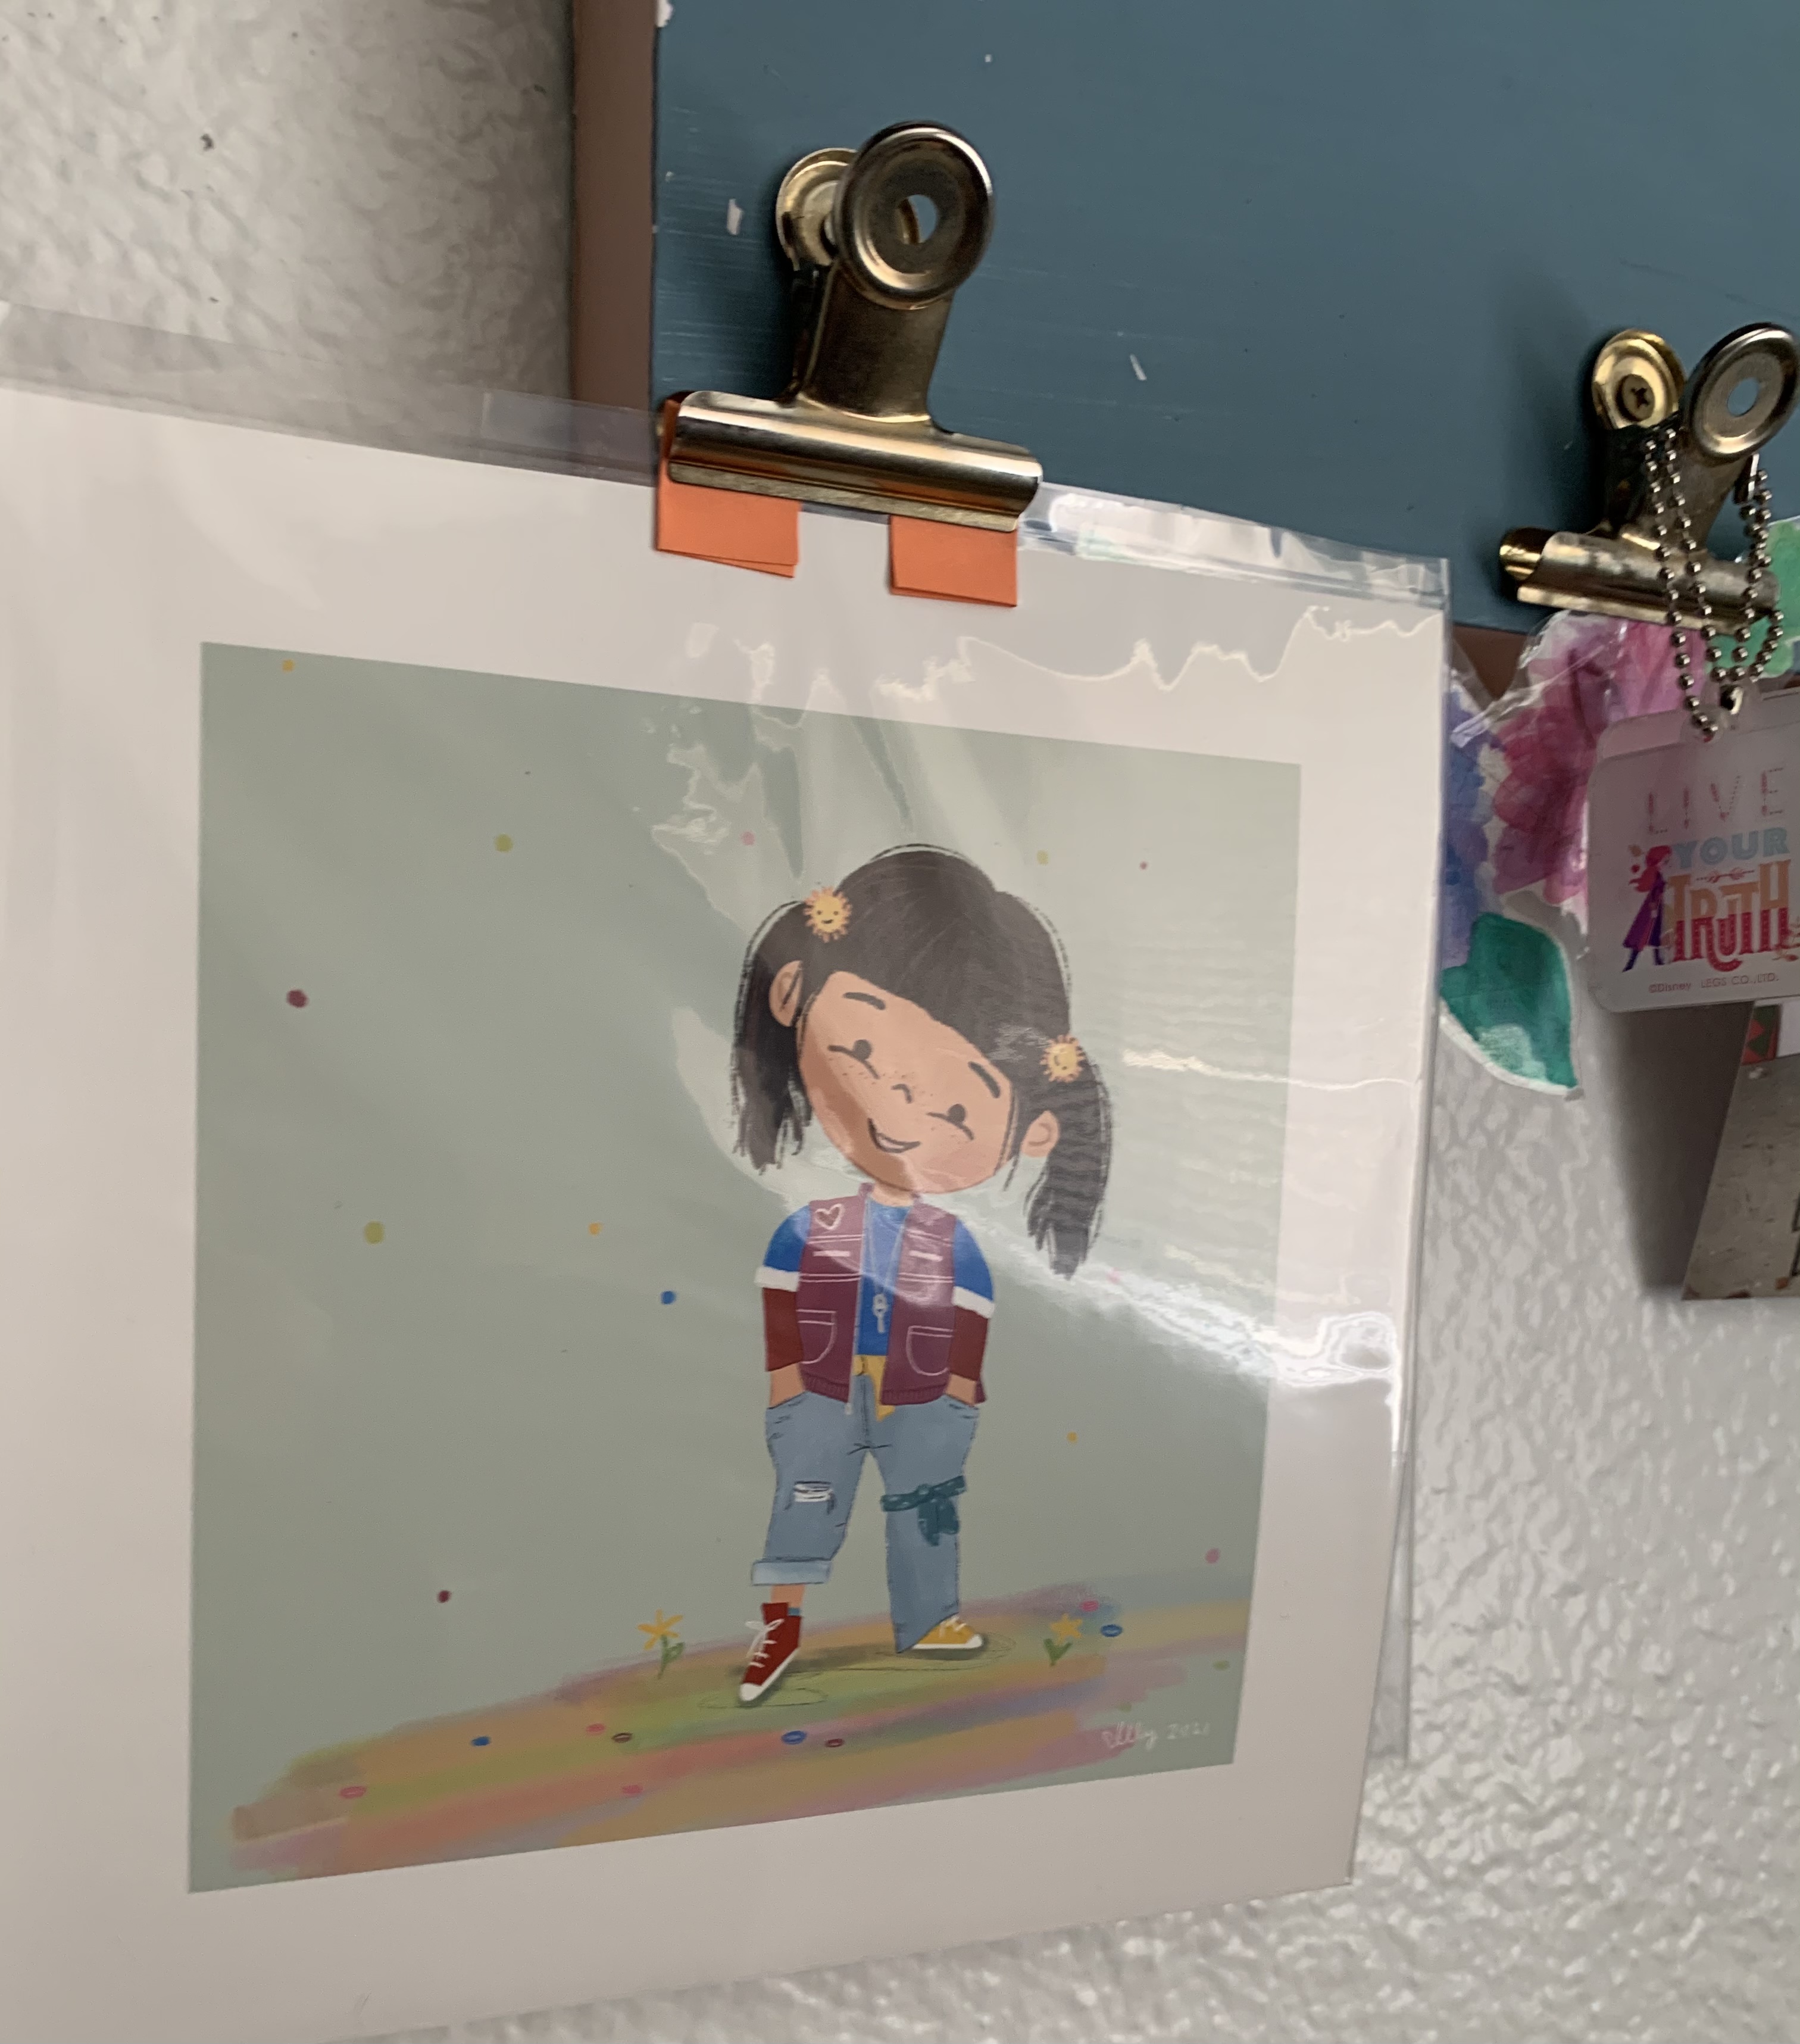
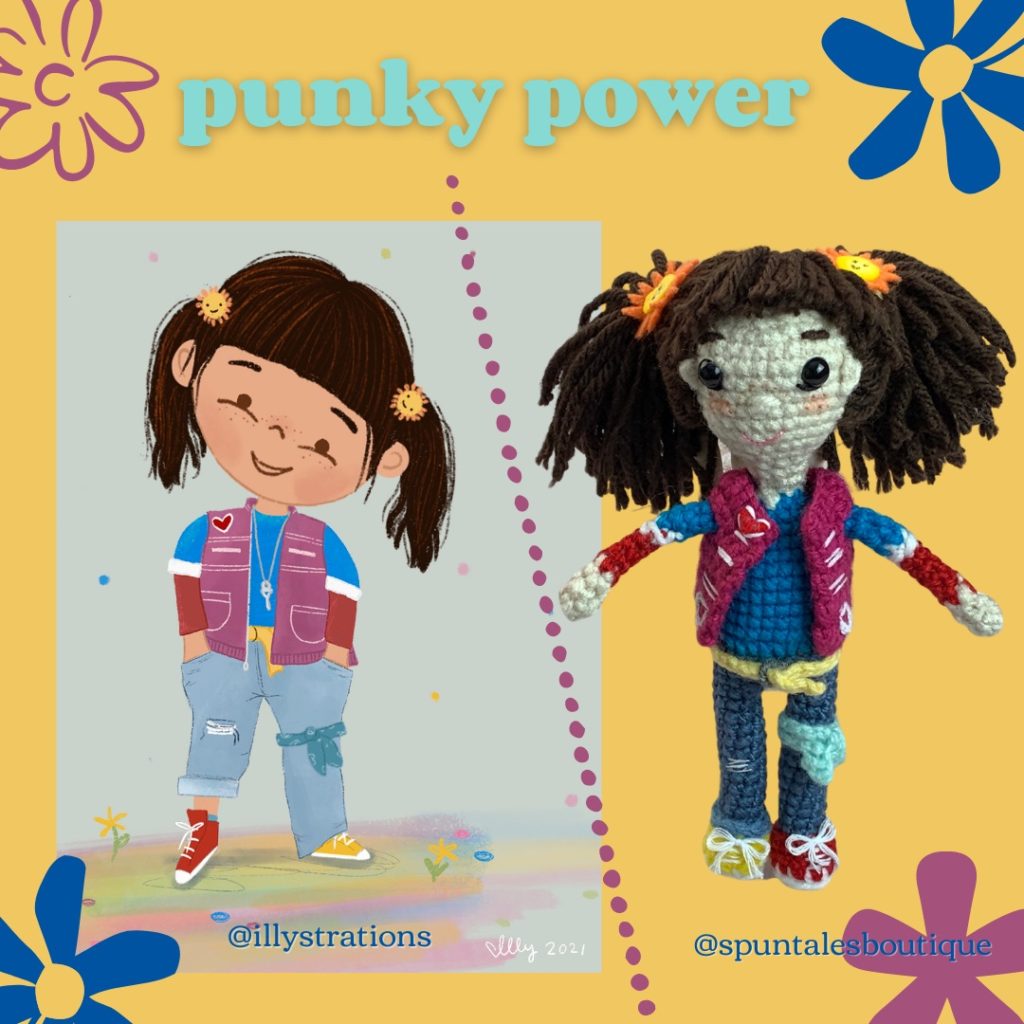
So for me, the process started in a really fun way, because I was scrolling my IG feed and I came across an adorable illustration of Punky by @Illystrations. I recommend following her to add some super cute and pretty illustrations to your feed. See her design, used with permission, below.
So how does this become a crochet pattern?
Step 1: Visualize your design
To create a pattern you need a visualization of what you’d like to make in 3D. This can be a great mental picture, a sketch on paper, or a full on illustration (like it was for me). Although I love to draw, my skills are not where I want them to be just yet. So upon seeing the design I asked if I could base my Punky crochet doll off @illystrations design, and they said yes!
Step 2: Gather your materials
Once you have the design you want in mind, it’s time to gather the necessary materials. For me that meant getting my hands on more yarn (oh no, what a terrible excuse to run to Michael’s…jk) to get the exact colors I needed.
I already had most of the yarn I needed and the equipment, but I still needed some felt and glue.
Step 3: Start crocheting
Here is where you get to start creating! Decide how you’re going to approach the design. Are you starting from the bottom to top? Are you going to have separate pieces for the arms and legs, or are you creating a one piece amigurumi?
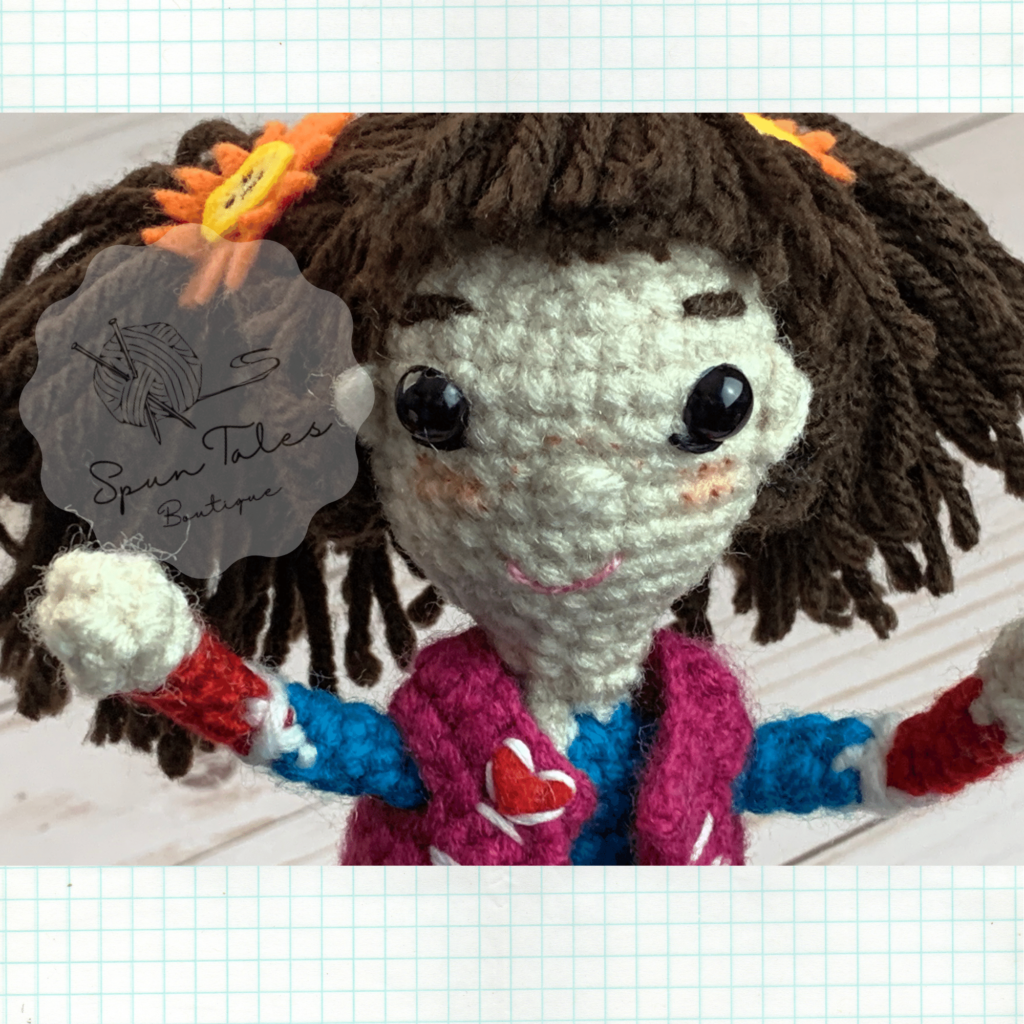
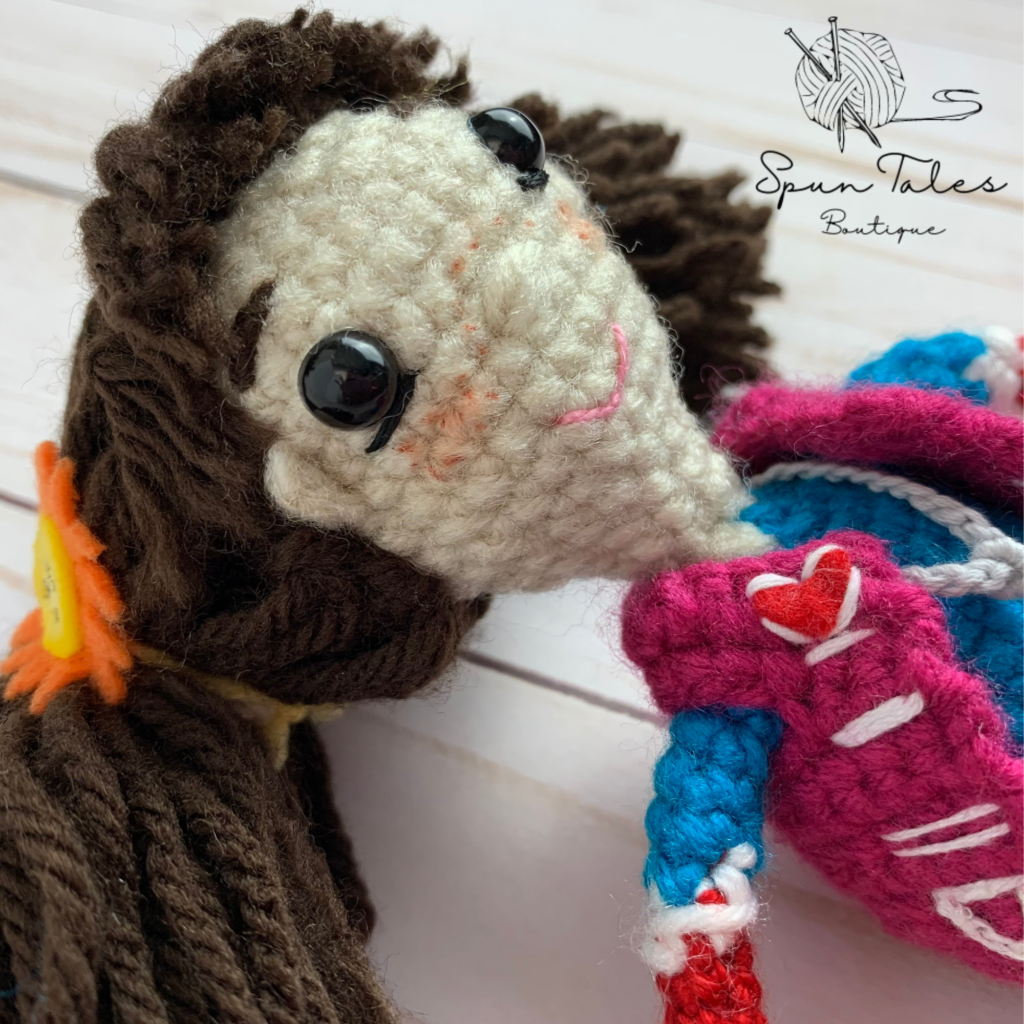
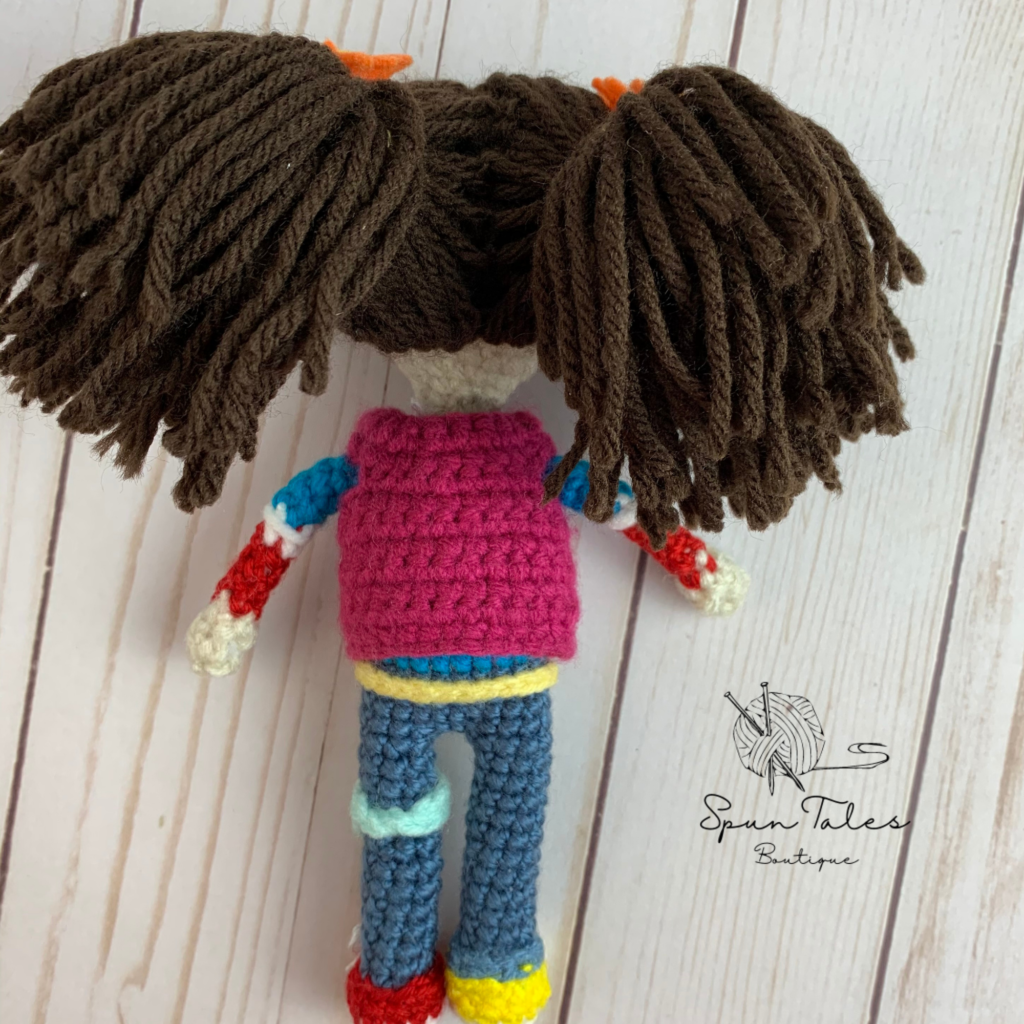
I decided to start by creating her head from top to bottom, which left me with her neck as the connection to the body. I write my pattern as I create. So before every row I write down the step that I’ll be taking and once the row/round is complete I count the number of stitches. I like to use the head as the gauge for what size the body should be, depending on the specific doll. Maybe you want a doll with a bigger head and small body. Maybe not.
Tips for what to include in your pattern:
- The size hook you used
- Stitch counts
- Color switches and when
- Where to add safety eyes, if you’re using them
- Reminder to stuff in a specific row, before the piece gets too tight to stuff
- Anything else that you think would be helpful for you to follow along
Step 4: Write the final pattern
What to use to write a pattern:
I am not an expert, not even close. But I can share what I do. I write my patterns out on paper with pencil. I really appreciate being able to erase! It’s that simple.
I know some people use charts, but I’m not quite at that level yet. (#Goals)
After I’m fully done with my pattern, I type it up. Then I used a Google Doc to create it. I include pictures, links to helpful videos for certain steps and then download as a PDF.
If you have contacts that can help test the pattern, I think that would be helpful. I didn’t have any testers, so I just moved on to my final step.
Step 5: List for sale
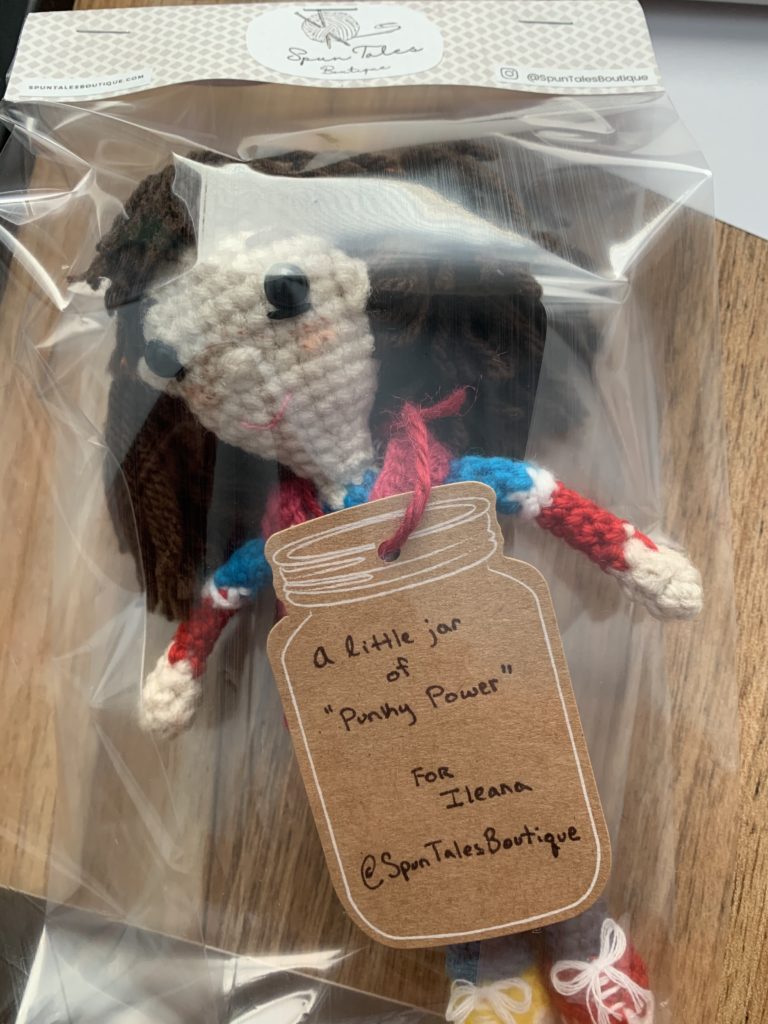
Yay! You’re ready to list for sale! I listed my Punky Brewster Doll crochet pattern on Etsy and Ravelry, which links to Etsy for checkout. And now it’s out there for someone to try if they like. The process took about 2 weeks for me and the best part was making a new connection on Instagram, and sending them the doll! I also got a super cute print of the beautiful art. I still need to frame her and give her a proper home, but right now she sits above my desk and brings me joy!