
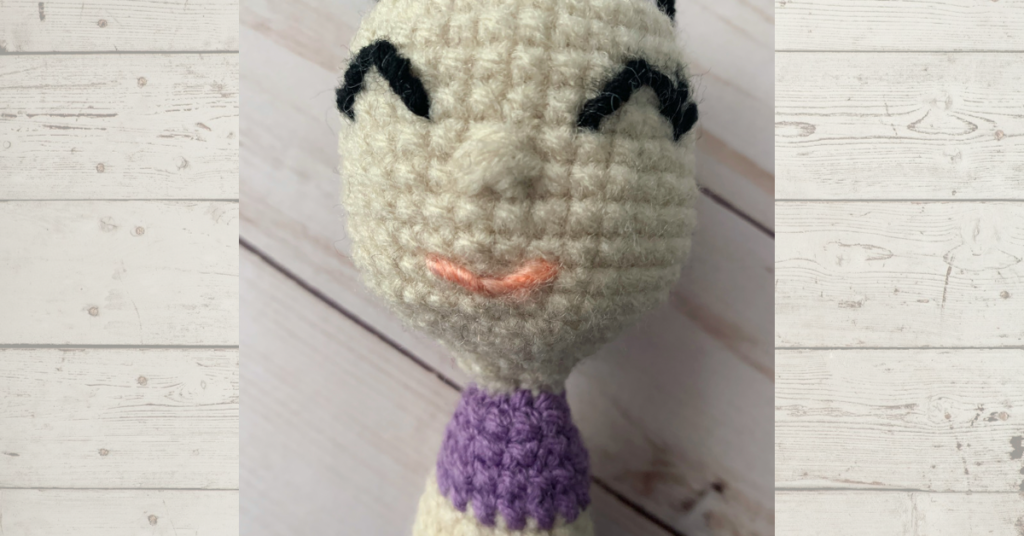
This is a quick explanation and video for how to create the happy eyes for your crochet doll! It’s easy to follow and you can use it to make both eyes and mouths for your amigurumi dolls.
Make easy crochet doll eyes
Materials:
- Tapestry Needle
- Yarn or embroidery thread
The written instructions:
First designate where your eyes will be located in the overall placement of your amigurumi doll’s head. Do this by counting how many stitches wide your head/project is. Take that into consideration to choose the width of your eyes. Once you decide where your eyes will be located, thread your needle and insert it into the head/project. Bring out the needle in the stitch that would be one of the corners of your first eye.
Pulling enough yarn through, insert the needle into the head/project again, across however many stitches wide the eyes should be. Make sure that you’ve stayed at the same level. For example, if you decided you’d like your eyes 4 stitches wide, then insert the needle four stitches to the left of your current location. The needle should come back out at the top of the eye arc. So, if you decided that the eyes should be about 3 stitches tall, then the needle should come out in between your current eye corners but 3 stitches up.
As you’re pulling the needle up, the yarn between the two corners is closing the loop, insert the needle through that loop and pull up. That should create your eye arc.
Lastly, insert the needle back into the head almost through the stitch it just come from. Weave in, hide and cut.
Repeat for your second eye!